Mini Fruit Tarts With Pastry Cream
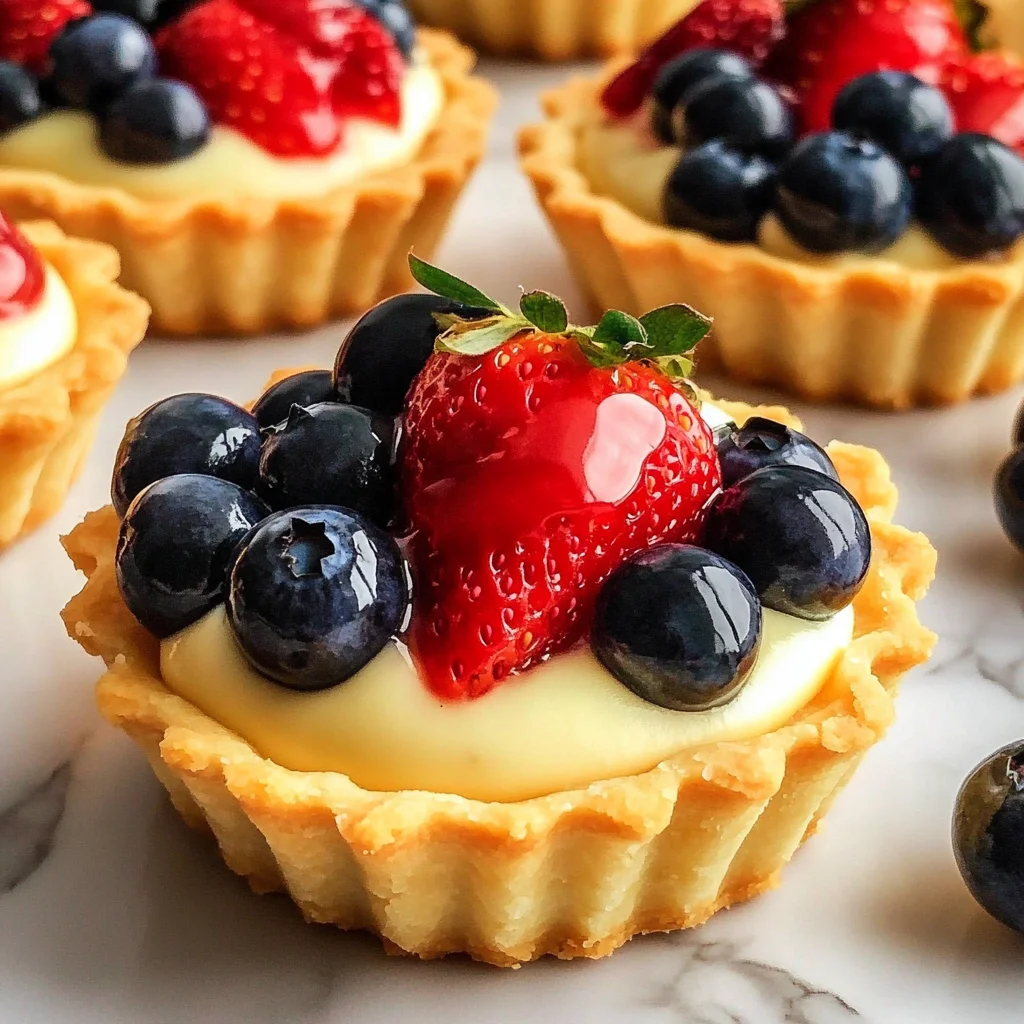
These Mini Fruit Tarts With Pastry Cream are a delightful treat perfect for any occasion. Their buttery tart shells, creamy pastry filling, and vibrant fruit toppings make them a crowd-pleaser at gatherings or just a sweet indulgence for yourself. Easy to prepare and visually stunning, these tarts offer a delicious balance of flavors that will leave everyone wanting more.
Why You’ll Love This Recipe
- Easy to Make: The straightforward steps ensure that even beginner bakers can create these tarts with confidence.
- Delicious Flavor: The combination of buttery crust and creamy filling is irresistible, making these tarts a favorite dessert option.
- Versatile Toppings: You can customize the fruit toppings based on your favorite seasonal fruits or what you have on hand.
- Perfect for Any Occasion: Whether it’s a birthday party, picnic, or holiday gathering, these mini tarts are sure to impress your guests.
- Make Ahead Option: Prepare the tart shells and pastry cream in advance to save time on the day of serving.
Tools and Preparation
To create these delicious mini fruit tarts, you’ll need a few essential tools. Having the right equipment will make the process smoother and more enjoyable.
Essential Tools and Equipment
- Food processor
- Rolling pin
- Mini tart pans
- Mixing bowls
- Whisk
Importance of Each Tool
- Food processor: This tool makes mixing the dough quick and efficient, ensuring an even texture without much effort.
- Rolling pin: A rolling pin helps achieve the perfect thickness for your tart shells, giving them the ideal structure for filling.
- Mini tart pans: These pans shape your tarts perfectly while ensuring they bake evenly and hold their form.
Ingredients
These mini fruit tarts are made with easy and buttery tart shells, filled with homemade pastry cream, and topped with fresh fruit.
For the Tart Shells
- 1/2 cup Butter (unsalted, cold)
- 1 Egg
- 1/2 tsp Vanilla extract
- 1/2 cup Powder sugar
- 1/4 tsp Kosher salt
- 2 cups Flour
For the Pastry Cream Filling
- 1 3/4 cups Milk
- 2 tsp Vanilla extract
- 5 Egg yolks
- 1/4 tsp Kosher salt
- 1/2 cup Granulated sugar
- 3 tbsp Cornstarch
For Topping
- Strawberries
- Blueberries
- 1 tbsp Apricot jam
- 1/2 tsp Water
How to Make Mini Fruit Tarts With Pastry Cream
Step 1: Make the Tart Dough
Start by making the tart dough. In a food processor, add the flour, powdered sugar, and salt, and mix until combined. Add the cold cubed butter and blend until there are pea-sized pieces of butter. If you don’t have a food processor, you can do it by hand—mixing the cold butter into the flour mixture using cold hands to prevent melting.
Step 2: Form the Dough
Add the egg and vanilla extract to the mixture. Mix it until a dough forms but avoid overmixing. Cover this dough with plastic wrap and let it chill in the fridge for at least an hour.
Step 3: Roll Out the Dough
Transfer the chilled dough onto a clean floured surface. Roll it out using a rolling pin into a rectangle shape. Cut small rounds of pastry using a cookie cutter or round bowl that’s one inch larger than your mini tart pans.
Step 4: Prepare Tart Shells
Place each round of pastry inside your mini tart pans. Press down gently using your hands to fit them snugly into place. Trim off any excess edges. Poke holes in the bottom of each shell with a fork and place them in the freezer for at least 20 minutes.
Step 5: Bake Tart Shells
Preheat your oven to 180°C (350°F). Bake your tart shells for about 15-20 minutes or until they turn light golden brown. Once done, remove them from the oven and let them cool while preparing the filling.
Step 6: Prepare Pastry Cream Filling
In a saucepan over medium heat, combine milk and vanilla extract. In another bowl, whisk together egg yolks, granulated sugar, cornstarch, and salt until smooth. Gradually pour in hot milk while whisking constantly to temper eggs. Return this mixture to heat until thickened.
Step 7: Assemble Your Mini Fruit Tarts
Once cooled, fill each tart shell with pastry cream. Top with fresh strawberries and blueberries arranged beautifully on top. To finish off, heat apricot jam with water until melted; brush this glaze over fruits for shine.
Enjoy your deliciously crafted mini fruit tarts!
How to Serve Mini Fruit Tarts With Pastry Cream
These delightful mini fruit tarts are perfect for any occasion. Whether it’s a birthday party, a family gathering, or a simple dessert for yourself, serving them right can elevate the experience.
Pair with Fresh Whipped Cream
- A dollop of fresh whipped cream adds an airy texture and sweetness that complements the tartness of the fruits.
Serve with Ice Cream
- Vanilla or coconut ice cream provides a creamy contrast to the crisp tart shell and rich pastry cream.
Garnish with Mint Leaves
- A sprig of fresh mint not only adds color but also enhances the flavors with its refreshing aroma.
Accompany with a Fruit Coulis
- Drizzling a berry coulis around the plate can enhance presentation while adding an extra layer of fruity flavor.
Offer alongside Coffee or Tea
- A warm cup of coffee or herbal tea balances the sweetness of the tarts, making it an ideal pairing for afternoon gatherings.
How to Perfect Mini Fruit Tarts With Pastry Cream
Creating flawless mini fruit tarts is easier than you think. Follow these tips to ensure your tarts are always a hit!
- Chill your ingredients: Keeping butter and eggs cold helps create a flakier crust.
- Avoid overmixing: When preparing your dough, mix just until combined to prevent tough crusts.
- Use fresh fruits: Opt for seasonal fruits for the best flavor and appearance in your tarts.
- Blind bake properly: Ensure you bake the tart shells fully so they don’t become soggy once filled with pastry cream.
- Let the pastry cream cool completely: This prevents condensation from forming inside the tart shells before serving.
- Experiment with toppings: Feel free to mix different fruits like kiwis or raspberries for added variety and color.
Best Side Dishes for Mini Fruit Tarts With Pastry Cream
Mini fruit tarts are versatile desserts that pair wonderfully with various side dishes. Here are some delicious options to consider:
-
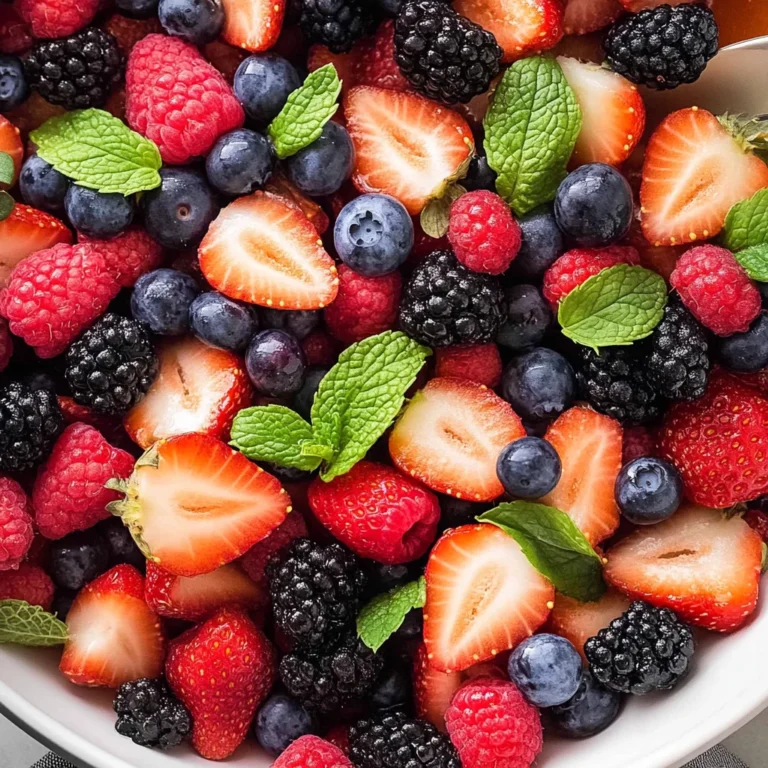
Fruit Salad
A refreshing mix of seasonal fruits enhances the fruity flavors in your tarts. -
Cheese Platter
A selection of mild cheeses can balance the sweetness of the tarts while adding richness. -
Chocolate Fondue
Serve warm chocolate fondue alongside sliced fruits; guests can dip their own pieces for fun interaction. -
Crème Fraîche
A dollop of crème fraîche offers a tangy contrast that complements both tart and sweet elements beautifully. -
Nut Mix
A crunchy assortment of nuts adds texture and a savory note, creating a delightful contrast with sweet tarts. -
Yogurt Parfait
Layered yogurt with granola and fruits makes for a light yet satisfying addition to your dessert spread.
Common Mistakes to Avoid
Making mini fruit tarts can be a delightful experience, but there are some common pitfalls to watch out for.
- Overmixing the Dough: Mixing the dough too much can lead to tough tart shells. Mix just until combined for a tender crust.
- Skipping Chilling Time: Not chilling the dough allows it to shrink while baking. Always chill your dough for at least an hour before rolling it out.
- Using Warm Ingredients: If your butter or eggs are warm, they can affect the dough’s texture. Always use cold butter and room temperature eggs for the best results.
- Not Pre-baking Properly: Failing to pre-bake the tart shells can result in soggy bottoms. Make sure to bake them until they’re lightly golden brown.
- Ignoring Fruit Placement: Randomly placing fruits can make your tarts look less appealing. Arrange fruits thoughtfully for a beautiful presentation.

Storage & Reheating Instructions
Refrigerator Storage
- Store mini fruit tarts in an airtight container.
- They will last up to 2 days in the refrigerator.
Freezing Mini Fruit Tarts With Pastry Cream
- Freeze unfilled tart shells for up to 3 months.
- Wrap them well in plastic wrap and place them in a freezer-safe bag.
Reheating Mini Fruit Tarts With Pastry Cream
- Oven: Preheat to 350°F (175°C) and warm for about 10 minutes until heated through.
- Microwave: Heat on low power in short intervals (10-15 seconds) to avoid making them soggy.
- Stovetop: Place over low heat in a pan, covering with a lid to retain moisture and warmth.
Frequently Asked Questions
How do I make the pastry cream thicker?
To thicken your pastry cream, ensure you cook it long enough after adding cornstarch. Stir continuously until it reaches your desired consistency.
Can I use different fruits for my mini fruit tarts?
Absolutely! You can use any fresh fruits you like, such as kiwi, raspberries, or peaches, depending on what’s in season.
How long do mini fruit tarts last?
Mini fruit tarts are best enjoyed within 2 days if stored properly in the refrigerator.
Can I prepare mini fruit tarts ahead of time?
Yes! You can prepare the tart shells and pastry cream ahead of time and assemble them just before serving for freshness.
What is the best way to serve mini fruit tarts?
Serve them chilled or at room temperature, garnished with mint leaves for an extra touch of elegance.
Final Thoughts
These Mini Fruit Tarts With Pastry Cream are not only delicious but also versatile. You can customize them with various fruits or even flavored creams. Whether it’s for a special occasion or just a sweet treat, these tarts are sure to impress your guests!
Mini Fruit Tarts With Pastry Cream

Indulge in the delightful experience of Mini Fruit Tarts With Pastry Cream, a perfect treat for any occasion. These bite-sized pastries feature a buttery tart shell filled with rich, homemade pastry cream and topped with an array of vibrant seasonal fruits. Not only are they visually stunning, but they also offer a delicious balance of creamy and fruity flavors that will leave your guests impressed and craving more. Easy to prepare, these mini tarts can be customized with your favorite fruits, making them a versatile addition to any dessert table. Whether you’re hosting a birthday party or enjoying a quiet afternoon at home, these charming tarts are sure to brighten your day.
- Prep Time: 30 minutes
- Cook Time: 20 minutes
- Total Time: 50 minutes
- Yield: Makes approximately 12 mini tarts 1x
- Category: Dessert
- Method: Baking
- Cuisine: Various
Ingredients
- 1/2 cup Butter (unsalted, cold)
- 1 Egg
- 1/2 tsp Vanilla extract
- 1/2 cup Powdered sugar
- 1/4 tsp Kosher salt
- 2 cups Flour
- 1 3/4 cups Milk
- 2 tsp Vanilla extract
- 5 Egg yolks
- 1/4 tsp Kosher salt
- 1/2 cup Granulated sugar
- 3 tbsp Cornstarch
- Strawberries
- Blueberries
- 1 tbsp Apricot jam
- 1/2 tsp Water
Instructions
- 1. Make the tart dough by mixing flour, powdered sugar, and salt in a food processor. Add cubed cold butter until pea-sized pieces form. Mix in egg and vanilla until combined; chill for one hour.
- 2. Roll out the chilled dough and cut rounds for mini tart pans. Fit into pans, poke holes in the bottoms, and freeze for 20 minutes.
- 3. Preheat oven to 350°F (180°C) and bake shells until golden brown (15-20 minutes). Cool completely.
- 4. For the pastry cream, heat milk and vanilla in a saucepan. In another bowl, whisk egg yolks, sugar, cornstarch, and salt together. Gradually combine with hot milk; return to heat until thickened.
- 5. Fill cooled tart shells with pastry cream and top with strawberries and blueberries brushed with melted apricot jam.
Nutrition
- Serving Size: 1 mini fruit tart (55g)
- Calories: 220
- Sugar: 10g
- Sodium: 80mg
- Fat: 12g
- Saturated Fat: 7g
- Unsaturated Fat: 4g
- Trans Fat: 0g
- Carbohydrates: 25g
- Fiber: 1g
- Protein: 3g
- Cholesterol: 85mg